Home
» Ecosystem
»
DEX Price Impact vs. Slippage Tolerance: How to Set Each for Thin Liquidity
DEX Price Impact vs. Slippage Tolerance: How to Set Each for Thin Liquidity
Start with the price impact; set slippage tolerance separately. Price impact estimates how your own order changes the pool price while it is being quoted. Slippage tolerance sets the maximum change from that quote you are willing to accept before the swap fails. In a thin pool, raising slippage tolerance does not improve the quoted price or create liquidity. It only allows a worse final output to pass.
The practical goal is to trade only when the quoted price impact is acceptable, then choose a minimum output that still makes the trade worthwhile if the market moves before execution. If the quote is unattractive, reduce the order, compare a route with more usable liquidity, or wait. A wider tolerance is not a substitute for depth.
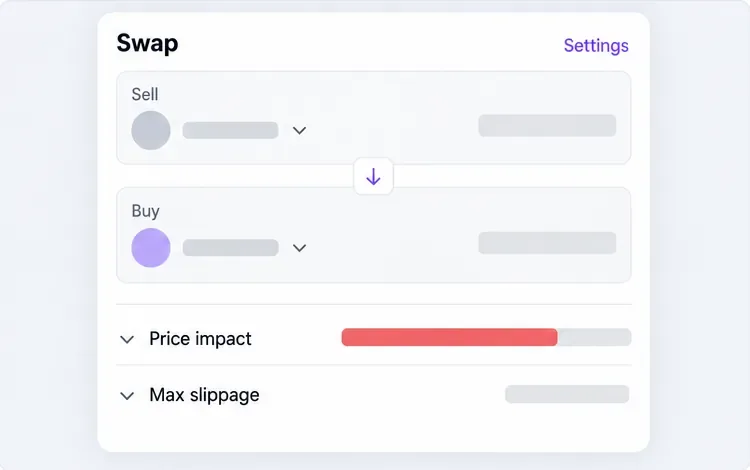
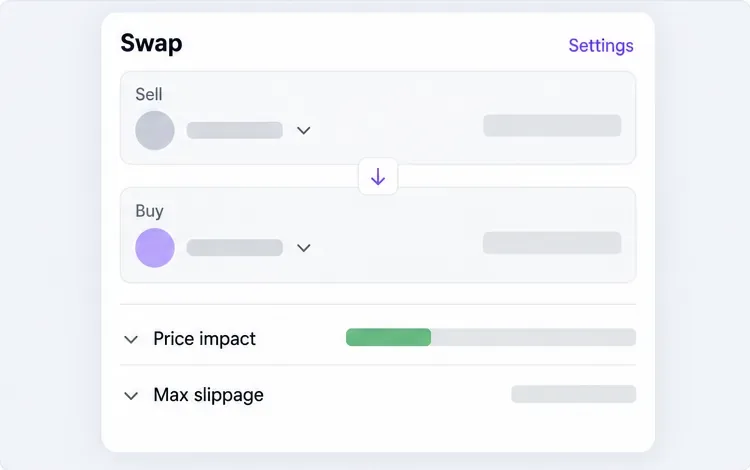
The swap details show price impact and maximum slippage as separate values. This conceptual interface view contains no live quote.
What is the difference between price impact and slippage tolerance?
Setting or measure
What it describes
What to do when liquidity is thin
Price impact
The price change caused by your own trade against available pool liquidity
Lower order size or find a better route; if the quote remains poor, do not force the trade
Slippage tolerance
The amount the received output may fall from the quoted amount before the transaction reverts
Set a limit based on the minimum output you will accept; do not widen it merely to make a bad quote execute
Uniswap Labs defines price impact as the price change directly caused by your trade and explains that larger trades relative to pool liquidity generally have greater impact. It describes price slippage as the difference between expected and actual output. Exact labels and calculation conventions can vary by DEX, route, and execution method, so use the values and minimum-output details displayed by the interface you are using.
Why can a small order have a large price impact?
A pool’s visible liquidity may be shallow at the prices your swap needs. In an automated market maker, a swap changes the token balances that determine the pool price. A larger order can move farther along the pool’s pricing curve and receive a worse average rate. In concentrated-liquidity pools, liquidity can also be placed within selected price ranges; the total liquidity shown for a pool does not necessarily mean equal depth is available around the current quote. Uniswap Labs explains how v3 introduced price-range liquidity.
Other factors matter too: the token pair, pool fee tier, route through intermediate assets, transaction size, competing trades, and how the DEX calculates its reference price. A quote is a momentary estimate. It can change before your transaction is included on-chain.
How should you handle a thin-liquidity quote?
1. Preview the quote before choosing a tolerance
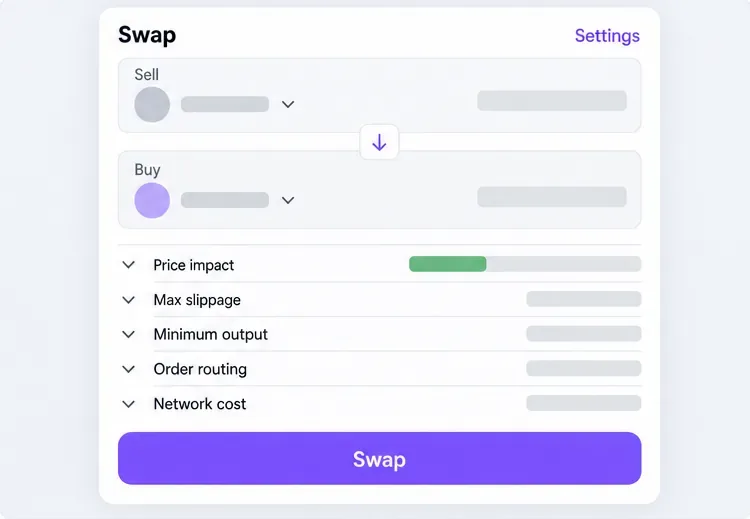
Enter the exact token pair and amount, then expand the swap details. Check the displayed price impact, maximum slippage, minimum output, order route, pool or pools used, network cost, and any token-specific fees. Confirm that the token contracts and network are the ones you intend to trade. Do not compare only the headline output: a multi-hop path may include more pool fees and network cost.
Use the price impact as a quality signal. A warning or a result materially worse than the reference price means the order is expensive at that size. Price impact is not a slider that can be turned down independently; it comes from the liquidity available to fill the quoted order.
Reducing the order size can lower its estimated price impact, although each new quote must be checked and no specific improvement is guaranteed.
2. Reduce size or compare routes if the quoted impact is too high
Try a smaller amount and request a fresh quote. Compare the resulting output after pool fees and network costs. If the DEX offers automatic routing, inspect whether it uses one pool, multiple pools, or a split route. A router may find a better effective price by spreading a trade across liquidity sources, but extra hops can raise network cost and a displayed route is not a promise of execution.
Splitting one order into several separate transactions can sometimes reduce the price movement caused by each individual order, but it adds transactions and network fees. The pool price and other traders’ activity can also change between fills. Do not assume that manual splitting is cheaper; compare the total expected output after fees. Some interfaces already split routes automatically, which is different from submitting a sequence of separate swaps.
If you can use another venue, pool, or order type, compare its executable quote and conditions. A limit order may avoid accepting a price below your chosen level, but it may not fill, and it does not guarantee deeper liquidity. If every available quote has price impact beyond what you are willing to pay, waiting or not trading is a valid decision.
3. Set slippage tolerance from the minimum output you can accept
Slippage tolerance does not change the quote. It defines a boundary: if the output falls below the allowed minimum before execution, the swap should fail instead of settling at a worse amount. A tighter tolerance protects the price floor but is more likely to cause a revert when the market moves. A wider tolerance makes execution more likely in changing conditions while allowing a lower output.
Use the interface’s displayed minimum output to reason from the amount you are willing to receive. In a simple percentage-based swap, the relationship is approximately:
For an explicitly hypothetical example, suppose the mid-market reference suggests 1.00 B for an order, but the thin-pool quote is 0.94 B after the pool’s price impact and quoted fees. A 0.5% slippage tolerance would set a minimum near 0.9353 B (0.94 × 0.995), subject to the DEX’s own route and contract mechanics. The 0.5% is applied to the already poor quote; it does not erase the roughly 6% gap from the reference in this simplified example.
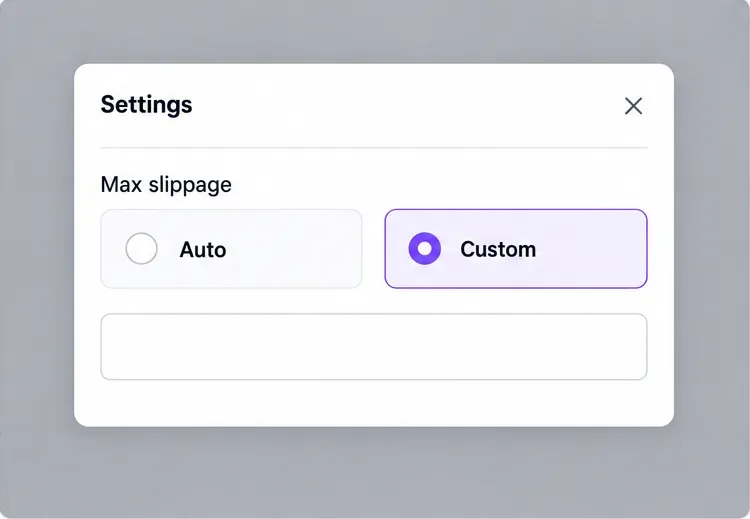
Use the custom setting only after deciding the lowest output that still makes the trade acceptable.
Start with the interface’s automatic setting if you trust its quote and routing process, then inspect the exact maximum slippage and minimum output. As of September 30, 2026, Uniswap’s web-app help page says its automatic percentage varies from 0.5% to 5%, depending on network cost and swap size. That is a current, interface-specific range, not a recommended target for every DEX or a reason to accept the top of the range. If you choose Custom, use the narrowest tolerance that fits the movement you are prepared to accept and the transaction conditions.
4. Review the final details before submitting
Before signing, verify the minimum output, price impact, maximum slippage, token pair, network, route, and network fee. If the minimum output is below your personal floor, cancel and resize or re-quote. Do not raise tolerance just because the swap has failed once; first check whether the quote moved, the route is thin, the token charges a transfer fee, or the transaction deadline or network conditions changed.
Review the route, minimum output, and network cost alongside the two separate price fields before submitting the swap.
Can a high tolerance create a security risk?
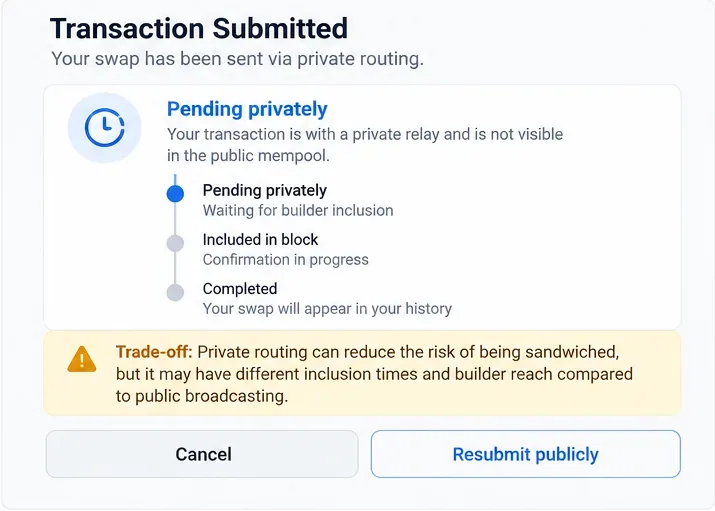
Yes. A very wide tolerance can permit a much worse execution price than the quote suggested and may make a swap more attractive to sandwich traders, who place transactions around a pending trade to move its execution against the user. A tighter tolerance can reduce the amount of adverse movement accepted, though it cannot remove all MEV or guarantee a fair fill. If a trade only executes at a tolerance you consider excessive, reconsider the size or route instead of treating execution as the goal.
A low tolerance has a cost too: if the market moves past the limit, the transaction may revert or fail. Depending on the chain and transaction path, you may still pay network costs for a failed on-chain transaction. Re-quoting after a failure is safer than repeatedly increasing tolerance without checking the revised minimum output.
Quick decision checklist
Price impact is high: reduce the trade size, inspect a different route or pool, and compare net output after fees. Do not try to repair the quote by editing slippage.
The quote is acceptable but markets are moving: choose a tolerance that gives enough room for expected movement while keeping the minimum output above your floor.
The transaction keeps reverting: refresh the quote and check network activity, route, deadline, and token mechanics before making a small tolerance adjustment.
The required tolerance feels too wide: pause, reduce size, or choose another route or time. There is no universal safe percentage for thin liquidity.
The final minimum output is unclear: do not sign until you can identify the amount the transaction will accept.
Limits of these settings
Price impact and slippage controls cannot guarantee that a token is legitimate, that a pool will remain liquid, or that a swap will execute. A displayed quote can become stale; aggregators use different routes; token contracts may impose fees or unusual transfer behavior; and some execution modes do not expose a user-adjustable slippage setting. Uniswap Labs, for example, says its slippage setting does not apply to UniswapX swaps, while users can still view the minimum amount the swap may receive. For any DEX, confirm how its specific execution mode handles minimum output and route protection.
The useful result is not “a transaction that went through.” It is an execution whose price impact is acceptable and whose minimum output, route, and fees match the trade you intended. When thin liquidity makes those conditions impossible, the quote itself is telling you to reconsider.